
Tips
On Taking Photographs Of Your Classic Car
When
displaying your vehicle at a show, enthusiasts like yourself
pay close attention to every detail down to the shine
on the bolts to ensure that the car is perfect. The end
quality of your display is dependent upon your attention
to details. Whenever we take a photograph or create your
art we do exactly the same. Starting with the right photographs
is key.
|
Remember
that you must start with a good photograph in order
to obtain good final results. Before taking your pictures
please keep in mind the following suggestions so you
will get the best possible results.
-
-
Picture
Quality- Set your camera to the BEST quality mode
possible. Many camera have resolution settings
similar to Normal, Better, Fine, and quality settings
of Good, Better, Best. Select the Fine and Best
mode. You can always reduce the resolution and
quality later if needed, but you can not improve
it. This becomes even more important when making
larger pictures or posters.
- Zooming
In and Close ups - At times you will have to zoom
into your car, and if you do, you need to understand
the implications. Many digital cameras have two types
of zoom modes. The first is an optical zoom where
it uses the camera lens and enlarges the image with
optics. The second mode is a digital zoom where the
camera manipulates the image digitally to enlarge
it. When the digital zoom is used, in most cases it
actually reduces the image resolution/quality. It
is recommended to avoid using the digital zoom. A
high quality optical lens is recommended.
-
When
composing the picture, you are focusing on the vehicle,
so zoom in or get close enough so the vehicle fills
as much of the frame as possible. This will provide
more resolution and details. When taking pictures
of badges r emblems this is required in order to capture
al of the intricate details.
-
No
matter if you are using a standard film camera, or
a digital camera you want to be sure that your camera
ALWAYS uses the flash. The only possible exception
to this would be for indoor photography where there
are halogen or other obtrusive lighting that you may
have to experiment with. Set your camera to "FORCE
Flash" or "Fill Flash", not "AUTOMATIC
Flash". Using the flash helps to illuminate the
shadowing areas, as well as minimizing any glare.
Force flash should be used for exterior shots, cockpit
shots, and engine bay shots.
- Use
a standard 50mm lens, and avoid telephoto or wide-angle
lenses. Exception is that a wide-angle lens can be used
for cockpit and engine bay shots of needed.
-
-
Given
that we are focusing on color photography, proper
lighting is essential. You want to have an even
distribution of light and not glaring light or
shadowing. Sun light that is at a low-angle such
as at sun rise or sun set is the best. Sun light
that is high in the sky such as that midday harsh
sun must be avoided otherwise you will have glaring
reflections, the top surfaces washed out, and
the lower areas with excessive shadows. The goal
is low angle, soft, evenly distributed light that
illuminates your entire vehicle. Remember, keep
the sun behind you!
- Days
with overcast (filtered sunlight) can also provide
a good lighting environment. Your flash will still
be required, but this softer light will provide even
lighting. Pearl white or other pearl and metallic
paints will have an added benefit of providing an
iridescent effect further enhancing the picture.
-
If
you have a light pastel colored car, such as yellow,
or pink, you need to shoot early morning, late
day or behind a building where the entire car
is shadowed from the sun. These colors are more
susceptible to becoming washed out on the top
surfaces, and excessive color distortion on the
lower areas.
-
Picking
the location: The lighter the ground surface the better
the lower area lighting will be and less shadowing.
Parking the vehicle on a light concrete surface versus
a dark asphalt surface will provide reflective light
off of the ground to better illuminate the lower areas
and minimize shadows. Unless your final print will
be of your car in a field, do not take your pictures
on a lawn. grassy field or gravel surface. The blades
of grass will hide the bottom of the tires as well
as produce unwanted reflections and irregular shadowing
on the lower panels.
- Avoid
parking under trees, signs or other things that will
reflect on the top surfaces and facing side of the
vehicle.
- Positioning
the vehicle:
- Park
the vehicle away from anything that will cause a reflection
on it. For example, the white parking lot stripes will
be reflected on the sides. Any building signs or even
trees will be reflected. Remember your car can be like
a mirror and many things around will show up as a reflection.
- Position
the vehicle for the best lighting. Remember that you
want to always take the picture from the sun side and
not the shadow side (sun behind you). This may require
that you reposition the vehicle during a photo shoot
for optimum lighting. Make sure that the areas that
you are photographing (i.e. front/side, etc.) are position
for best lighting.
- After
you have positioned the vehicle, and before you start
to take any pictures, examine the vehicle and carefully
look for any shadows, including those cast from distant
trees, any reflections or other things that are visible
on the surface. Also be sure to look at the windows,
and through the windows to make sure there is nothing
showing that will be distracting. Remember that once
the final picture printed, these flaws will stand out
even more.
-
NOTE:
So many of your vehicles shine like a mirror, so it
is important to follow the guidelines presented here.
. We can correct some of this from the picture, but
often specific details such as emblems will be washed
out and can not be restored. Pay attention
to any reflections and shadowing that could make body
panels look like a poor paint job or in need of body
work.
-
Often
there are small replica cars in our rear window or
on display elsewhere in the car. If you have tinted
windows often the replica will not be clear. We suggest
that you take pictures both with the model showing,
and with it removed.
-
Remove
any window plaques, displays or show stickers or items
hanging from your mirror that you do not want to be
in the photograph. Remove the key chain as well since
they can be distracting.
- Unless
you want the background where you are taking the photographs
to be included in the final work, it is best to park the
vehicle in front of a plain background such as a building
or where there are no cars or other distractions in the
background. If you do want the background to be included,
it should not be distracting or too busy taking away from
your vehicle. One example of this would be a telephone
pole behind the car that looks like it is sticking out
of the roof.
-
Keep your antenna lowered to the lowest level. Antennas
sticking way up do not add anything to the picture and
just add for what can be empty space above the car.
-
Take
a series of photographs with all doors, hood, trunk
are completely closed. This series should include
the following shots (refer to the picture bar to
the left):
-
Straight on from the front
- Straight
on from the back
-
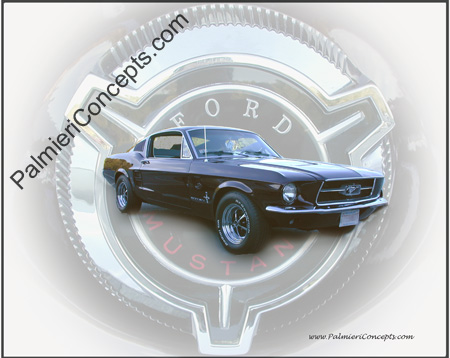
Left
front quarter to side panel shot (take one crouched
down, as well as standing)
-
Right
front quarter to side panel shot ( one crouched
down, as well as standing)
- Straight
on left/right side
-
Rear quarter panel shot (take one crouched down,
as well as standing)
-
Repeat
the above positions with the parking lights, and/or
headlights on
-
For
a convertible, take pictures with the top up and
down, and for some unique cars, such as those
with retractable tops, you may also want to take
pictures during different stages of the top going
down.
-
Take
some with the windows completely rolled down.
This minimizes any reflections for the area, and
also allows visibility into and through the car.
-
Most
of your vehicles have areas that are special to you,
such as an emblem, gas cap, dash board, steering wheel,
or even a specific body part. Take multiple photographs
of each of these areas with slightly different angles
and we can incorporate them into the art work. Remember
to be sure that your steering wheel is straight, and
for that twist gas cap is also straight and zoom in
to fill the frame.
-
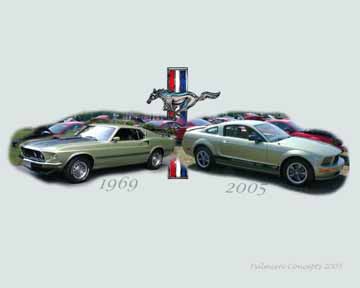
Many
of our themes pictures such as the magazine covers
include engine pictures or dash pictures, so be sure
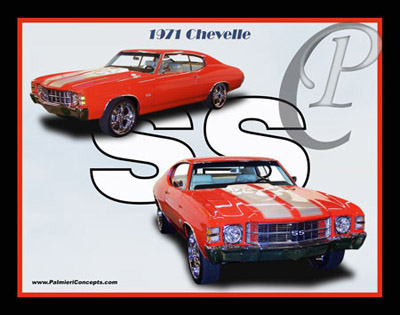
to include these as well. If you would like multiple
vehicles in the same picture ,be sure to take complementary
pictures such as the two green mustangs.
-
Lastly, we want to emphasize that you must start with
a good quality photograph, do not just look at the vehicle,
but look around it to be sure that you or something around
is not casting a shadow into the picture, and that your
reflection is not visible in the car. If you are up close
taking a picture of a badge or lettering, your reflection
may be visible
|
|
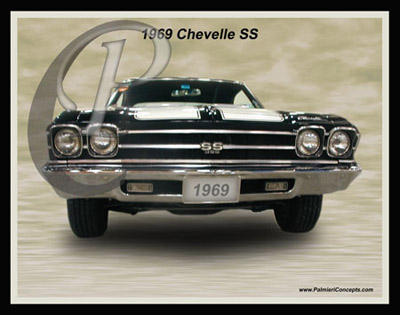
Straight
on from the font
Top:
Rear quarter/side panel. Bottom: Right front
quarter/side panel
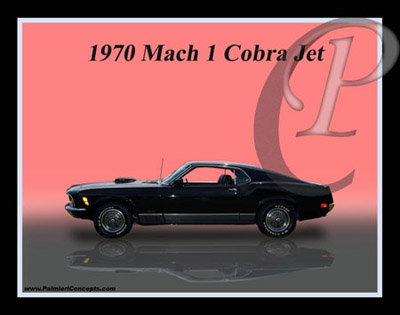
Straight
on left/right side
Gas
Cap feature
Complementary angles
Dash feature
|
|
|
NOTE that all images of the cars, logos, etc. used
on these pages were provided by the customers. Because
of trade mark restrictions, we DO NOT provide trademarked
logos (or images) for use on your photographs. However,
if you provide pictures of your emblems, badges or logos
from your car or property that "you own" we
will try to incorporate them. All emblems/badges/logos
or other trade marked images used on this site have
been provided by customers for their pictures exclusively.
Ohio Attorney and Driving
Laws:
Driving
Laws in All Ohio Counties
Delaware
County Criminal Attorney

|
|
Copyright
2005-2025 by Palmieri Concepts. All rights reserved. Protected
under both U.S. Federal copyright law and international
treaties. No part of this site, including text, images and
computer code, may be reproduced or copied in any form or
by any means, electronic, graphic, digital or mechanical,
including photocopying or information storage & retrieval
systems, without the express prior written permission of
Palmieri Concepts. The only area that may be reproduced
are the publications that expressly state that they can
be copied. They must be used in their entirety without any
changes, and provide a reference to www.PalmieriConcepts.com,
and credit the author.
-
Classic Car Pictures and Art by Palmieri Concepts
-
|
|
